Introduced in WordPress 5.8, FSE (Full Site Editing) enables users to edit every part of their site—including headers, footers, and templates—using a visual, block-based interface. The Block Editor (sometimes known as Gutenberg) provides a modular system where content is created using reusable “blocks” for text, images, media, and dynamic elements. This modern workflow simplifies customization, reduces the need for code, and makes WordPress more accessible to developers, designers, and non-technical users alike.
As of version 3.9, Matador Jobs Pro comes with a series of blocks that allow users to create their Matador-powered job board using WordPress’ full site editing and block editor features.
This guide will walk you through the basics of creating your job board using FSE with Matador Jobs. First we will explore how to set up and customise templates for your job archive and job single pages. Then we will look at some suggested approaches for leveraging patterns and template parts to create re-useable combinations of blocks that you can use throughout your site.
Templates
Most job boards consist of 2 main templates, a job archive for displaying summaries of all your jobs, and a job single for displaying all the details of individual jobs. The precise contents of these two templates will vary significantly depending on a site’s design and how feature-rich it is. At a minimum these templates should contain a means for candidates to find jobs which match their search criteria (search/filters), and any information candidates need to determine if they are interested in and qualified for the jobs they do find on your site.
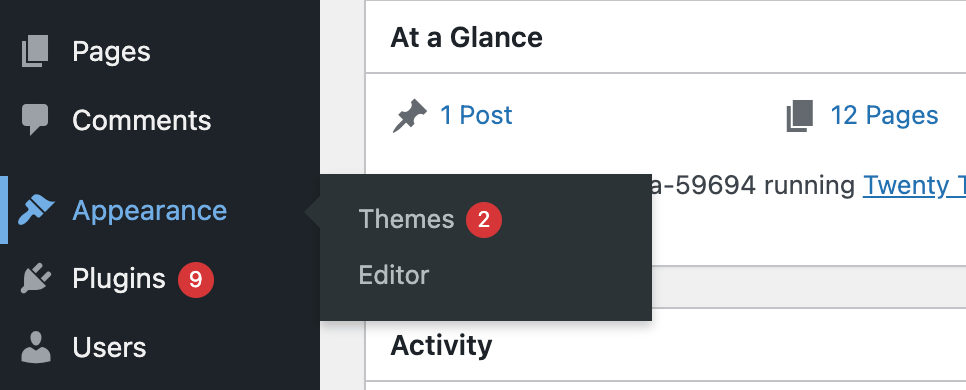
To start designing your job board templates login to your WordPress Dashboard and navigate to Appearance > Editor, then select ‘Templates’.

Job Archive
The first template to set up is the job archive. This is the page that will display key details about each of your jobs, and is usually the starting point from which candidates will search for roles which suit them.
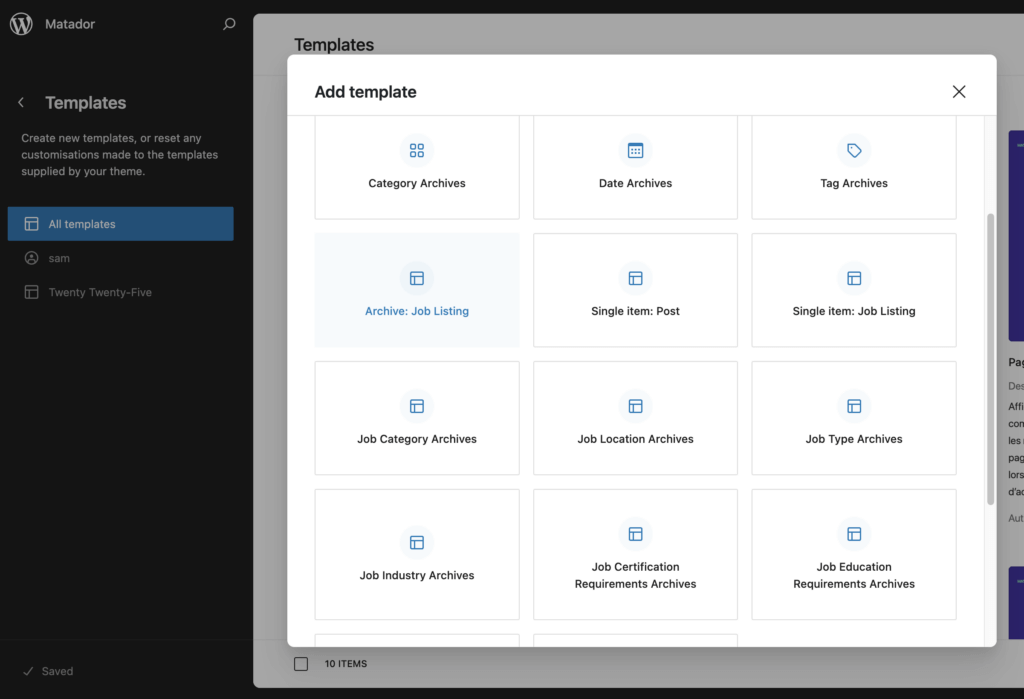
To create your job archive, click on ‘Add new template and select ‘Archive: Job Listing’ from the options presented:
You will then be asked if you want to choose a pattern to apply to this template. If one of the patterns offered fits your desired layout & design then select it, otherwise skip choosing a pattern and start from scratch.
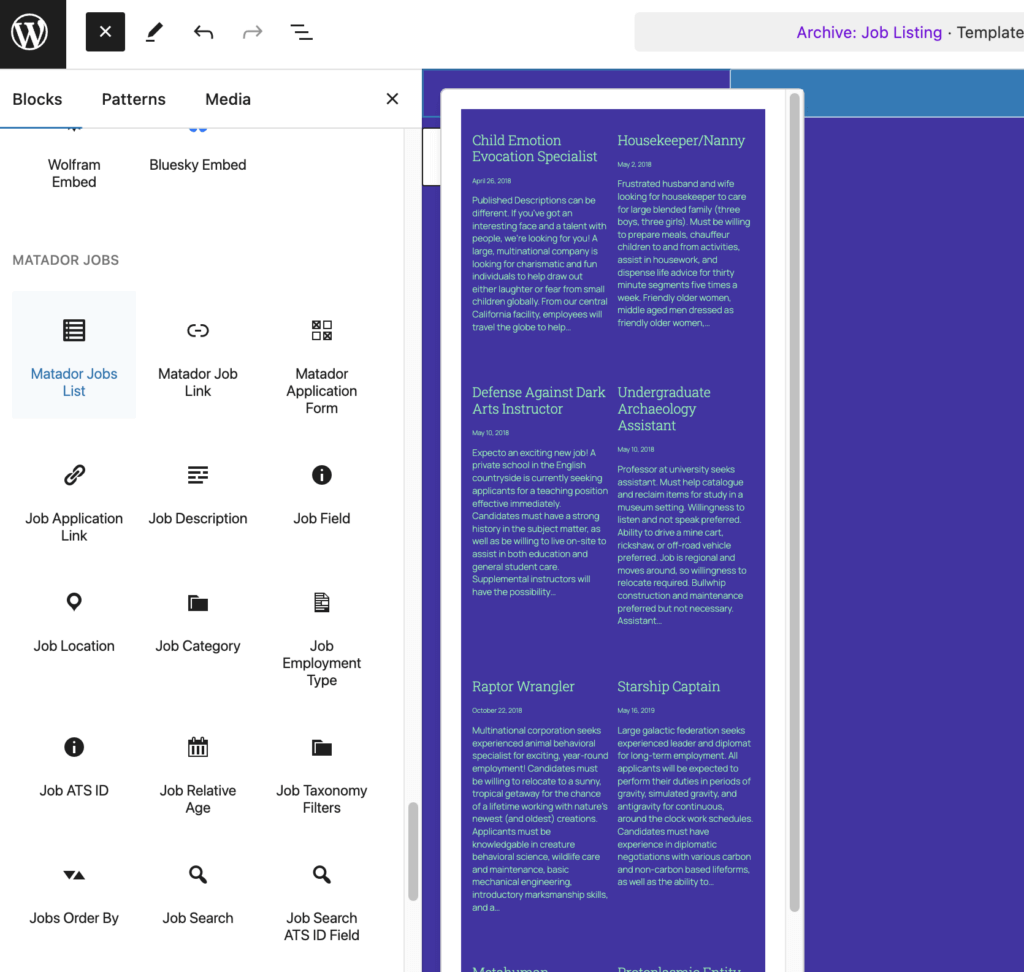
The first thing to do is make sure your jobs are being displayed on your archive. This is done with a query loop block. For simplicity’s sake, Matador Jobs Pro offers the ‘Matador Jobs List’ block which is a block variation on the standard Query Loop block. For a deeper dive into how the Matador Jobs List block works, please refer to its information page.
You may find that the standard Query Loop block which powers the Matador Jobs List block doesn’t offer enough fine grained control for your needs. In this case we recommend trying out the Advanced Query Loop plugin, which empowers users to create more complex queries.
Once you’ve added and configured the block which displays your jobs, you can modify the contents of the ‘Post Template’ block. This block determines the information displayed about each job, and the layout of this information. By default the title, location, category, ATS ID, and a short extract of the description are displayed.
A vital part of the ‘Post Template’ is a link to your job single, as this is how candidates will be able to find information on specific jobs, and apply to them. By default the Matador Jobs List block’s post template will include the Matador Job Link block.
Another essential element for any good job board is a way for candidates to narrow down the jobs they are seeing according to their search criteria. For your jobs archive, Matador Jobs provides the Jobs Search block and Job Taxonomy Filters block to enable your users to search your jobs and filter the results. You can simply add these blocks to your jobs archive and design them as needed.
Job Single
The job single template is where all the information candidates need to know about individual jobs should be displayed. You should also include the application form (or a link to the page which contains it) on this page.
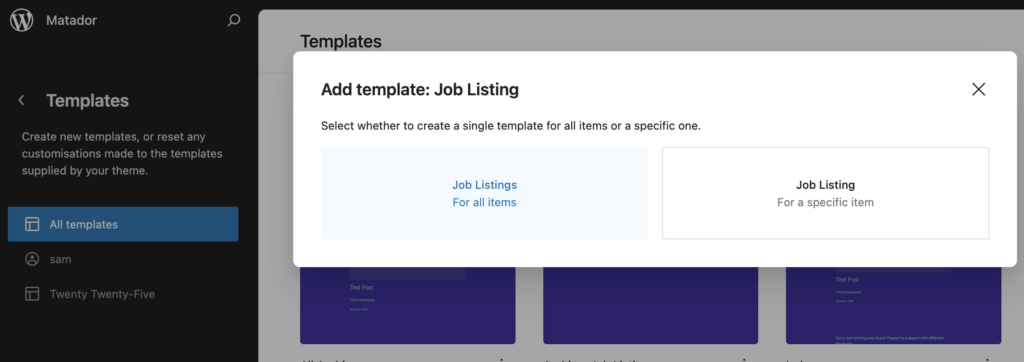
To create the job single template click on ‘Add new template’ and select ‘Job Listings, For all items’
Choose one of the patterns offered if it suits your design, otherwise skip choosing a pattern and start from scratch.
The job single template should contain the job title, description, location and all other details needed for a candidate to determine if they are interested in and qualified for the role. To display all these elements you can use the following blocks:
| Job Info | Block |
|---|---|
| Job Title | Title (WordPress Core) |
| Job Location | Job Location (Matador) |
| Job Type | Job Type (Matador) |
| Job Category | Job Category (Matador) |
| Job ATS ID | Job ATS ID (Matador) |
| Time elapsed since job posted | Job Relative Age (Matador) |
| Job Description | Job Description (Matador) |
| Any other job data | Job Field (Matador) |
| Application Form | Application Form (Matador) |
Patterns
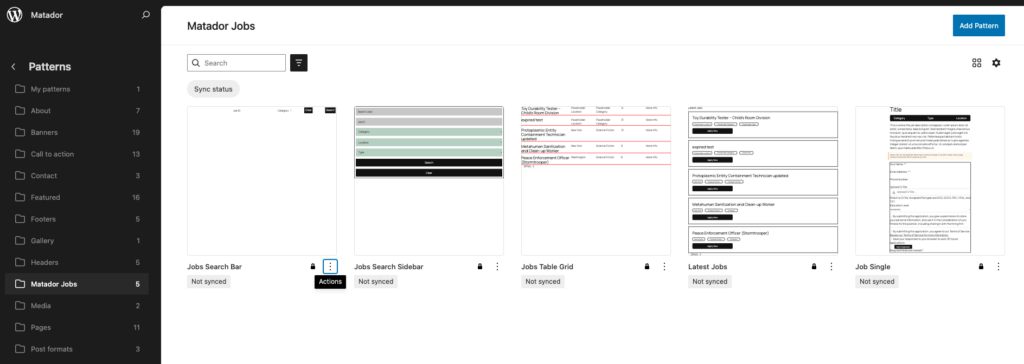
As of version 4.0.0 Matador ships with default block patterns organized under the ‘Matador Jobs’ block pattern category. These patterns are intended as a starting point from which site designers can make modifications when creating their job board using full site editing and the block editor.